Pilgrim Harps

  • Home
    • About us
    • FAQ's
    • Recommendations
    • Meet The Team
    • Our Agents
  • Harps
    • Pedal Harps >
      • The Malvern
      • The Aldeburgh
      • The Canterbury
      • The Salisbury
    • Lever Harps >
      • The Clarsach
      • The Ashdown
      • The Skylark
      • Bundles
      • Lever Options
    • Electro-Acoustic Harps
    • Second-Hand Harps
    • Hear our harps
  • Hire a harp
  • Bespoke designs
  • Servicing and Restoration
  • What's On
    • Open Day
    • Edinburgh International Harp Festival
    • What's on in the Harp World >
      • Harp World - Past Events
    • Pilgrim Harps Charity Christmas Video Campaign
    • Pilgrim Harps Past Events
  • Find A Harpist
  • Shop
  • Contact

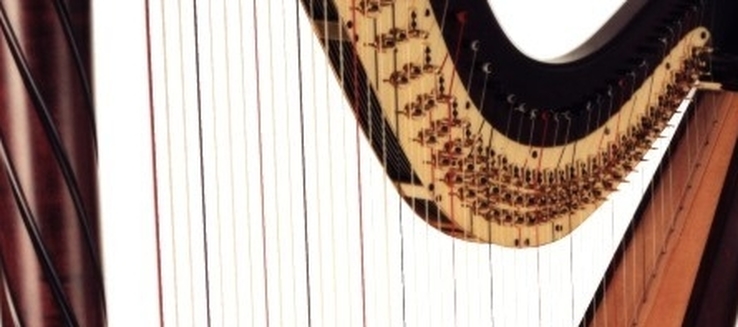
Understanding Harp Strings

Picture
7th Octave
6th Octave
5th Octave
4th Octave
3rd Octave
2nd Octave
1st Octave
Top F and G

Octaves and string types fluctuate between instruments. For more information or help to find out which string your harp needs contact us.
​Octaves start on E

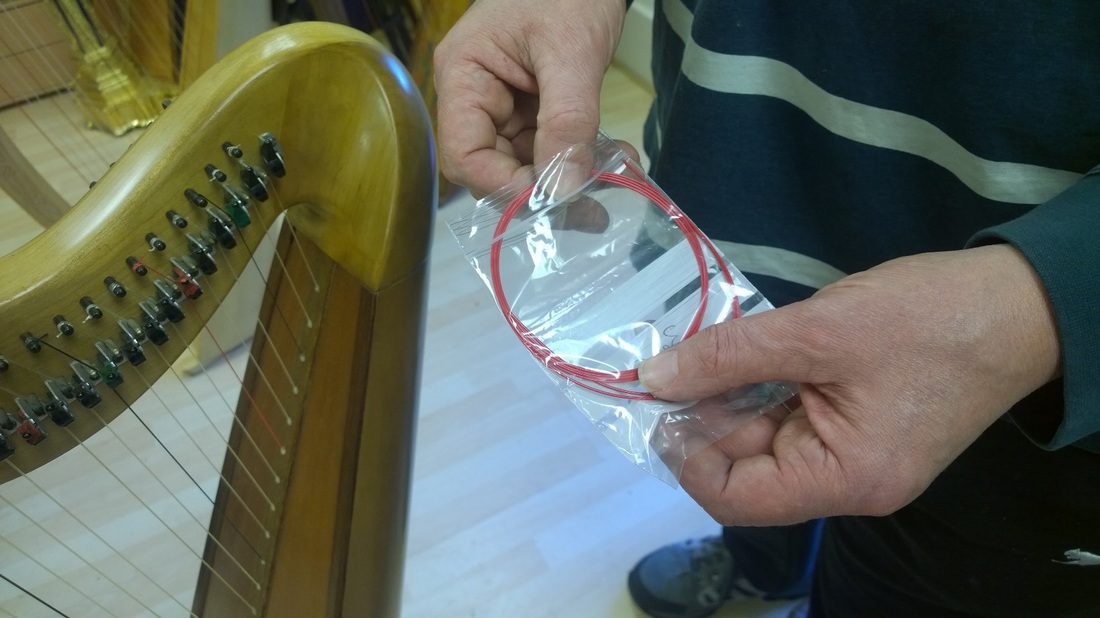
How to tie a nylon harp string:

1. Take the strings from the packet make sure it is the correct string for your harp.  
Picture
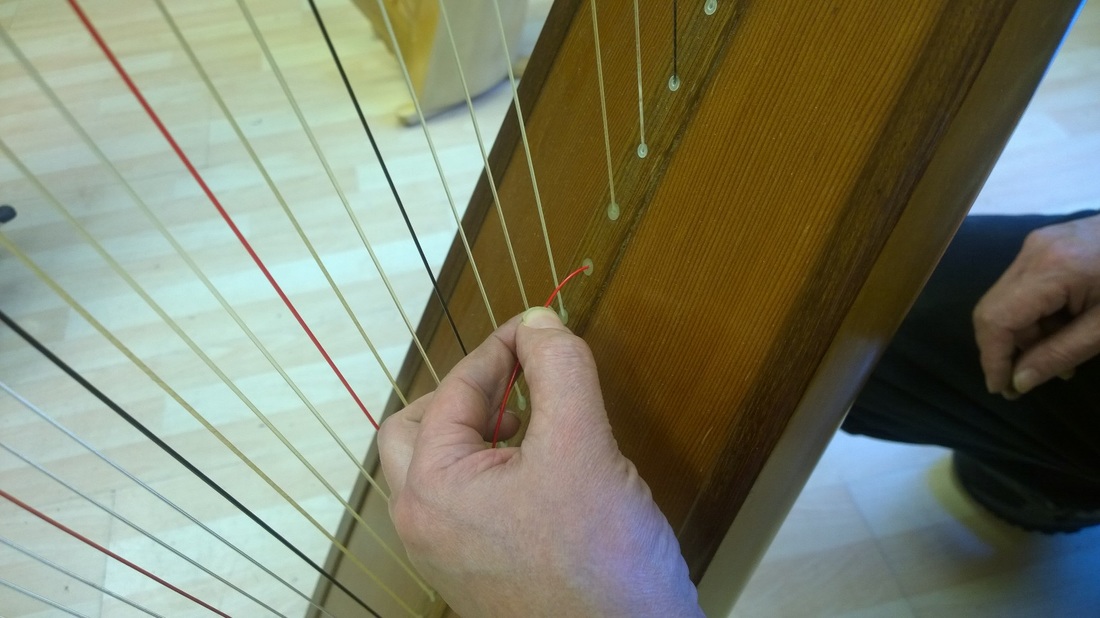
2. Put the string through the bush from the front to the back and pull it through. 
Picture
Picture
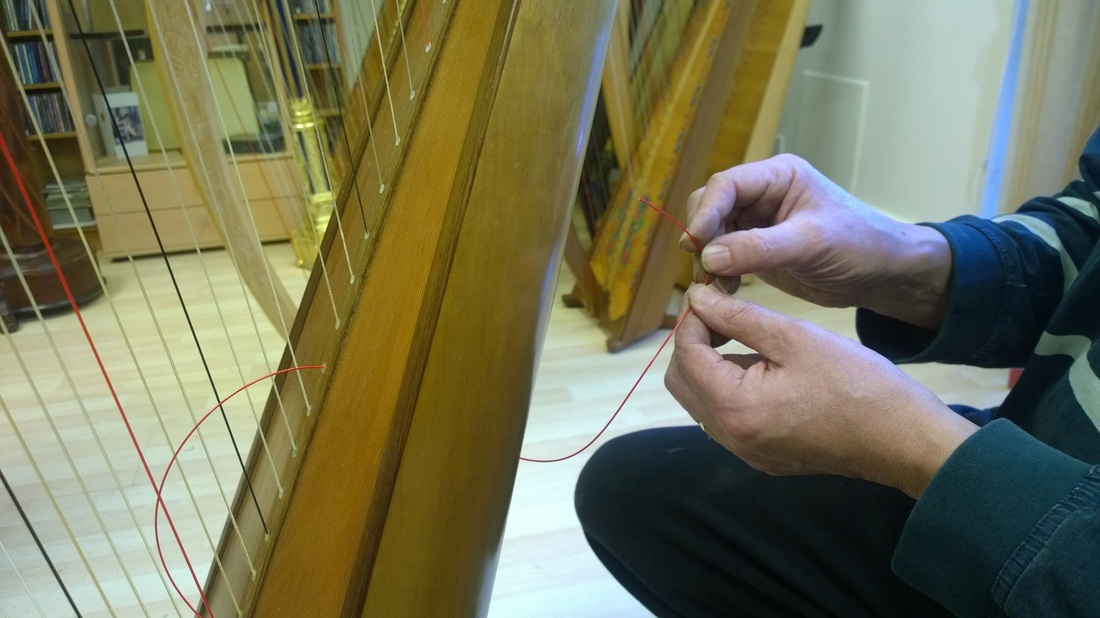
3. Hold the end of the string at the back of your harp.
Picture
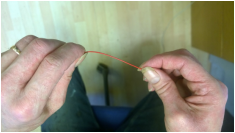
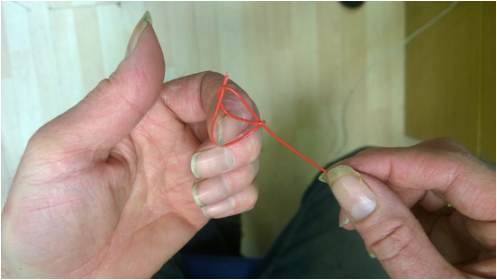
4. Make a small loop in the string. The short end of the string behind the long end.
Picture
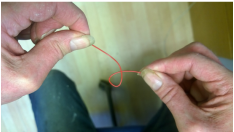
5. Hold the loop tight in one hand.
Picture
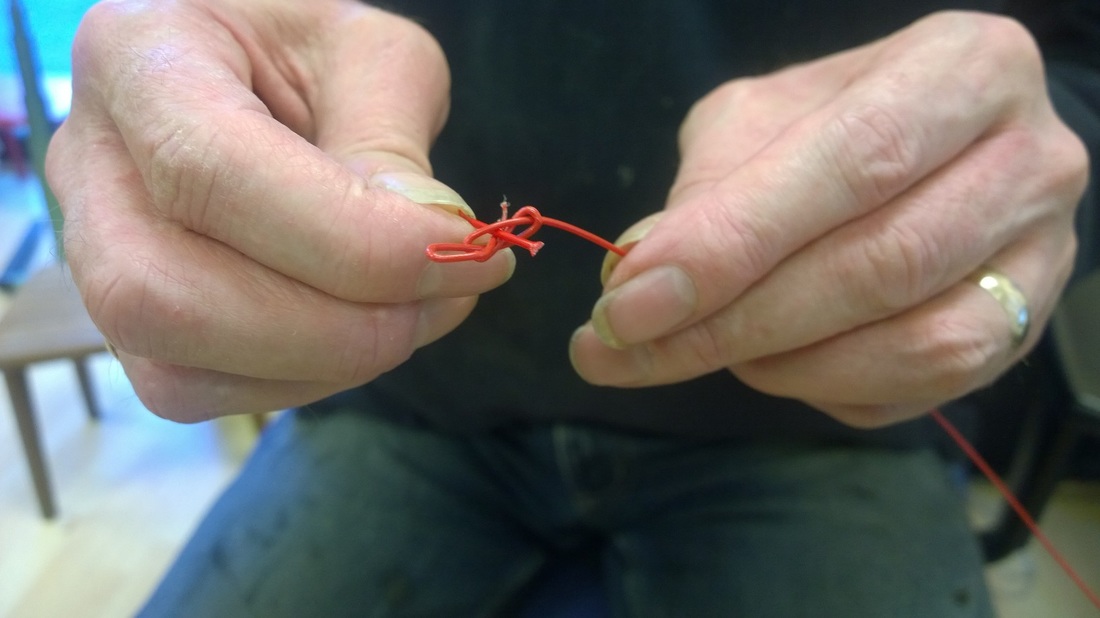
6. Bend the short end of the string back around the long end securing the loop. 
Picture
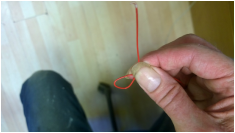
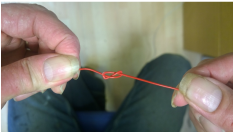
7. Put the short end of the string through the loop. ​
Picture
8. Pull both ends of the string tight so the knot appears. 
Picture
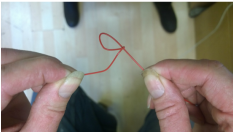
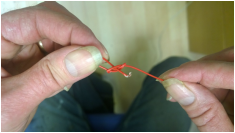
9. Loop the short end of the string around and put it through the hole. 
Picture
Picture
Picture
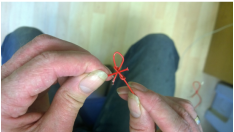
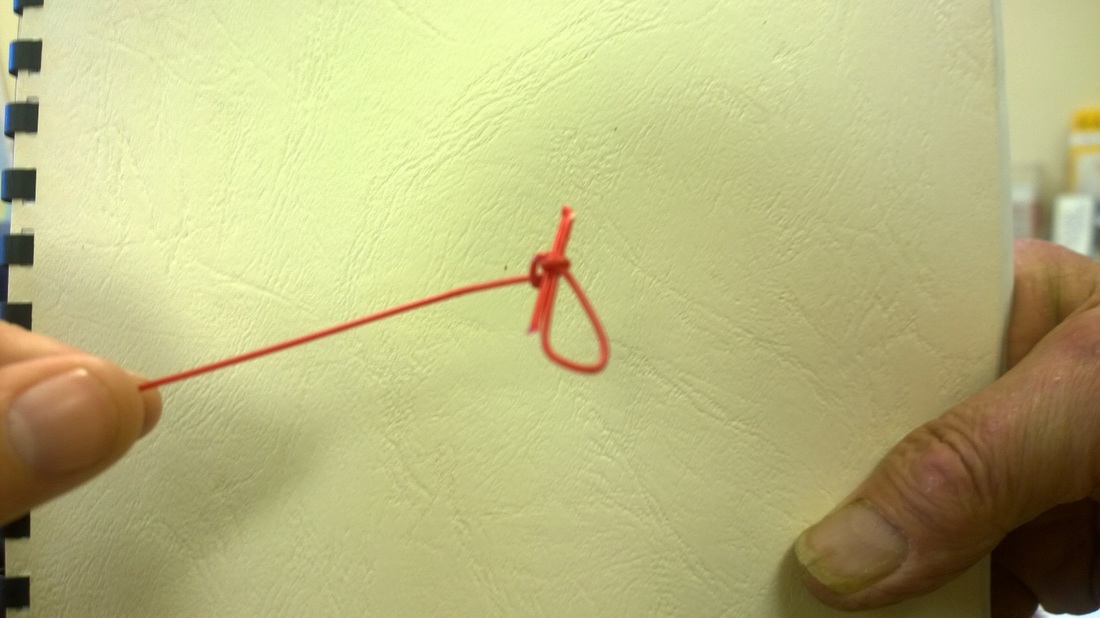
11.Your finished knot should look like this
10. Place a string end through the knot. 
Picture
Picture
"The finest pedal harp that has ever been made in Britain. It is much lighter than most concert harps and, this combined with an original body construction, has a range of sonority and dynamic that is quite remarkable.” 

David Watkins

Contact Us


Pilgrim Harps,
Stansted House,
Tilburstow Hill Road,
South Godstone,
Surrey,
RH9 8NA

​01342 893242
​

info@pilgrimharps.co.uk
Copyright Pilgrim Harps 2015